A lot of people who get used to enjoying all the advantages of Hollywood blockbusters right at home, using their home theatre systems, at least heard about the program (or rather multimedia OS) Kodi. There are millions of users all over the world, who have this flexible and highly adjustable “multimedia Swiss knife” on their computers and Smart TVs.
Of course, for those who don’t accept any compromises when they talk about the quality of the picture, video effects, and multichannel sound there is no alternative to Blu-Ray format. And – plus to impeccable quality – BRD gives us comprehensive information about the movies we watch, including deleted scenes, funny episodes, interviews, behind-the-scenes videos, etc.
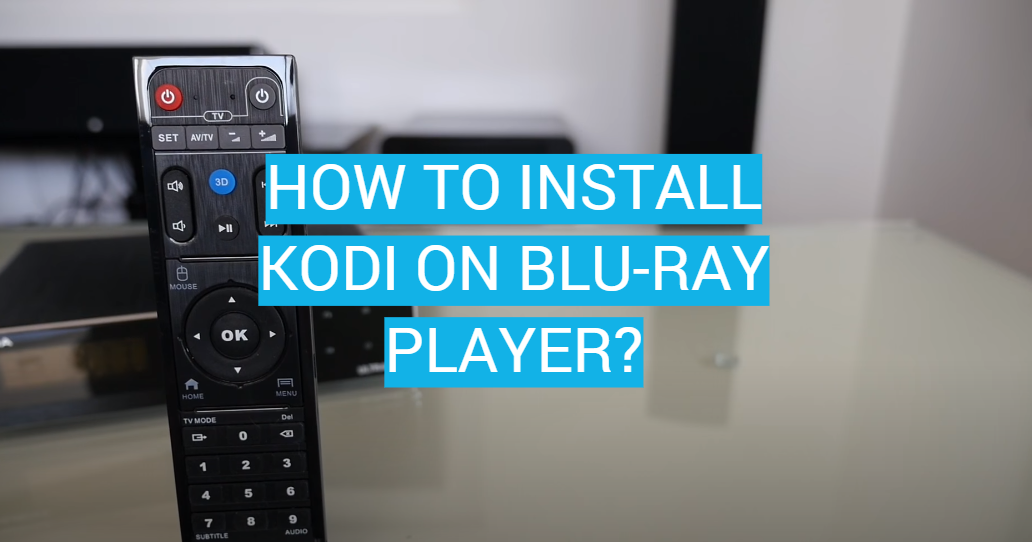
So, the question is whether it’s possible to watch Blu-Ray video content on Kodi? Surely, yes! It’s as easy as saying: “One, two three!” First of all, just decide on what hardware you’re going to run your Blu-Ray discs. As far as Kodi is an ultimately universal OS, you may run it on a zillion devices: from Android to Raspberry Pi 4 and from your PC (no matter, Windows or Linux installed there) to your Xbox or just Smart TVs. If you use a computer, Raspberry, or, maybe, an old laptop as your media center, you may just connect your Blu-Ray Drive with a USB cable.
As for different kinds of hardware players – this problem is already solved by default. Well, what do you need to do to enjoy your BRD content through your Kodi interface? Please, follow these easy steps:
1. For streaming Blu-Ray videos you need the HEVC Blu-ray add-on
If you already have had a deal with the installation of other add-ons, you know the algorithm, so just do it. If this is your first experience, you will need the Fusion Installer running on your device. Let’s pass the process together.
The current stable version of Kodi has the number 19.0 and is called Matrix. Check whether your software is up-to-date, and let’s go!
- Run your Kodi and open its SYSTEM;
- Click on the sub-option File Manager;
- From the expanded list of options choose the Add Source;
- Click “None” – it will highlight the text-box:
- Type the address https://fusion.tvaddons.co there;
- Click “Yes” when two sequent windows with questions appear and resume the process with “Done”;
- When you proceed with it, you will see the box where you should type the name of the name for the add-on you’re installing, for instance, Fusion Installer. Click
OKwhen you are asked to; - Now return to the Kodi’s home screen;
- Repeat the first two steps: go to the
System ⇾ Options - Now you need the tab Add-Ons;
- Select the option Install from *.zip file and select the appropriate name. Look for the file named
addoninstaller-x.x.x.zipand just click on it; - Great, you’re done! Now merely follow the installing routine and get the Installer for any add-ons you need.
2. Run the tab PROGRAMS in your Kodi and find Addon Installer there
Now you may install any specific add-on you need.
The process doesn’t differ too much from the one described above, so just be attentive, following the next several steps.
Pay attention: all we did before was necessary to get onto our device the program (let’s call it The General Add-On) that allows us to install any other add-ons, including the HEVC for streaming Blu-Ray videos. As the installation procedure of HEVC is quite alike the installation of the Fusion Installer, don’t be surprised if some steps would cause a slight Deja-vu: this is not a diagnosis, just the common Kodi algorithm.
3. To install and run the HEVC Blu-Ray add-on, go to your Home screen and open the Settings form there
- Click the Settings and find the “File Manager” on the next tab;
- Activate the line “Add source” – it opens the way to a repository;
- Click twice on the option “None” in the dialog box you see. It means you still have no addresses for getting the necessary add-on. Let’s fix it. Type carefully:
“http://srp.nu”(with no quotation, of course). SRP means “Super Repository”. This is the source where you can find not only the HEVC add-on but anything you need in the future. - Name the file which opens the repository gates for you. Let it be, for instance, “SuperRepository”. Don’t forget to click
“OK”; - Return to your Home screen (you may just press
“Esc”for it); - Find “Add-ons” in the left column;
- In the same column, right on the top, choose the “Unzip” button;
- There are several options on the right side of the next screen. Choose the pre-last one: “Install from Zip file”;
- Find the file you just named “SuperRepository”;
- Check the actual version of your Kodi and choose the appropriate one in the list;
- On the next screen click on the “All”;
- Choose the file that looks like
superrepository.kodi.Matrix.all-x.x.xx.zipand click on it.
Well, now you have full access to the Super Repository, congratulations!
4. Now you may run your HEVC add-on and play Blu-Ray videos
Go to your Add-Ons browser and find on the right side the third line from the above: “Install from recovery”.
- Click twice on the “SuperRepository”, this will carry you to the site SuperRepo.org;
- Choose in the log list on the right side of the Add-ons browser the line “Video Add-ons”;
- In the next huge list you supposed to find the “HEVC Kodi Bluray addon”;
- Well, you’re almost done” Just double-click on this add-on, wait until it is downloaded, and enjoy your Bly-Ray content!
By the way, pay attention: this site gets permanent updates, so you may find a lot of brand-new content here.
Just in case if you faced any issues with the HEVC add-on, try this lifehack. Install the add-on “f4m tester”. You may find it in the list of video add-ons. It should solve the problem. Maybe, after the “f4m tester” is installed, you should re-install your HEVC Kodi Bluray addon.
5. There is one more way to install the HEVC add-on
As you probably know, Kodi is just one of an immense number of Linux distributions. Some of them represent the complete operating systems (Mint, Manjaro, etc.), some are made for certain, often quite narrow tacks. Kodi belongs to the second segment: it’s oriented exactly for keeping, sorting, managing, and processing video, audio, and graphic content. And does it flawlessly, That’s why it is so popular.
What is helpful to bear in mind is that no matter how Linux distributions look like or what tasks they are made for, they are based upon some common ground. One of such basic features is getting any applications or add-ons from repositories. It may look a bit confusing for the Windows users, but in practice, this approach dramatically expands your opportunities and turns any Linux-based OS into a kind of magic wand, Just think: “I need this feature…” – and you are guaranteed to find it in one or another repository.
Anyway back to the HEVC issue. There is one more way you may add it to your Kodi and enjoy Blu-ray content.
The Fusion add-on is already integrated into your Kodi. If not yet, just read paragraphs 1 and 2 and follow the instructions.
- Now go to your home screen and look for the option “Add-ons” in the left column, click on it.
- Here you see another screen – in the middle column expands the long (or short – depending on your personal settings) list of accessible add-ons.
- In the left column on the same screen, you need to choose the line “Install from the zip file”.
- The next screen opens the list of folders. Look for the one named “Fusion”.
- The next option you need is the “xbmc-repos”.
- In the list of *.zip files find the one named
“repository.entertainmentrepobackup-x.x.x.zip”where“x.x”– is the number of a current version of the set. - Click on it and look for a while until the next screen appears.
- Click again on the third from the above line (“Install from .zip file”).
- Here you see the next screen called “Add-ons. Install from repository”.
- In the left column, you see the long list of options. You need the “Entertainment Repo”.
- Clicking on the “Entertainment Repo” option transfers you to another screen: “Video add-ons”.
- Roll down the list in the left column and look for the “Hevc Bluray” line.
- Of course, click on it.
- At last, you see the proposal to run the installation process, agree.
- When the job is done, you’ll get the notification.
- The add-on is installed but is not ready for use yet. Please, be patient, it wouldn’t take too much time to enable it.
- Just go to your “VIDEOS’ tab, find there the option “Add-ons” and find in the list your Hevc Bluray Addon.
Voilà! You passed the whole process and, in this way, found out something new regarding the Linux architecture.
That’s all, folks. Enjoy!